Tools
Support
Pangolin Family of websites
Pangolin Laser Systems, Inc.
Kvant Lasers
Unity Lasers
ScannerMAX
Lasorb
Tools
Support
Pangolin Family of websites
Pangolin Laser Systems, Inc.
Kvant Lasers
Unity Lasers
ScannerMAX
Lasorb
This is a remote interface within Beyond, that gives access to the FB4's Hardware Settings.
All the FB4 devices connected to the same network as the PC running Beyond, will be available in this Window, independent of the Operation Mode they are set to.
This is very useful, especially when the lasers are not easily accessible, and saves users a lot of time when dealing with a very large number of laser.
The FB4 Settings allows the User to change mode such as DMX, ArtNet, Test mode, etc. Also, you can change the IP address, Master Playback settings and so on. This window is concentrated on Settings rather than on Playback control.
There is one important detail: The FB4 hardware may be the controller even if it is in another mode, or connected to another BEYOND software. This is an exceptional situation. Normal workflow requires the FB4 Hardware to be in BEYOND/QS Mode and the FB4 must be connected to the software. These settings are based on another interface that does not require a connection, and, requires no monopoly over control. Multiple software applications can work with the FB4 Settings at the same time.
There is one more consequence of a connection-less model. The list of discovered FB4 Hardware and the list of Projectors, are independent. To visualize this situation, imagine a network with 60 FB4 controllers. BEYOND allows the connection of not more than 40. But we still need to change mode, adjust IP, or do some other adjustments of all or any of the 60 controllers. We can do this with a connection less model. Another conceptual detail – the FB4 is a standalone device, with it's own settings. It can be used as a streaming device with a software, but it is not the only purpose of the controller. It is one of reasons why the FB4's are separate from the Projectors Settings in BEYOND/QS software.
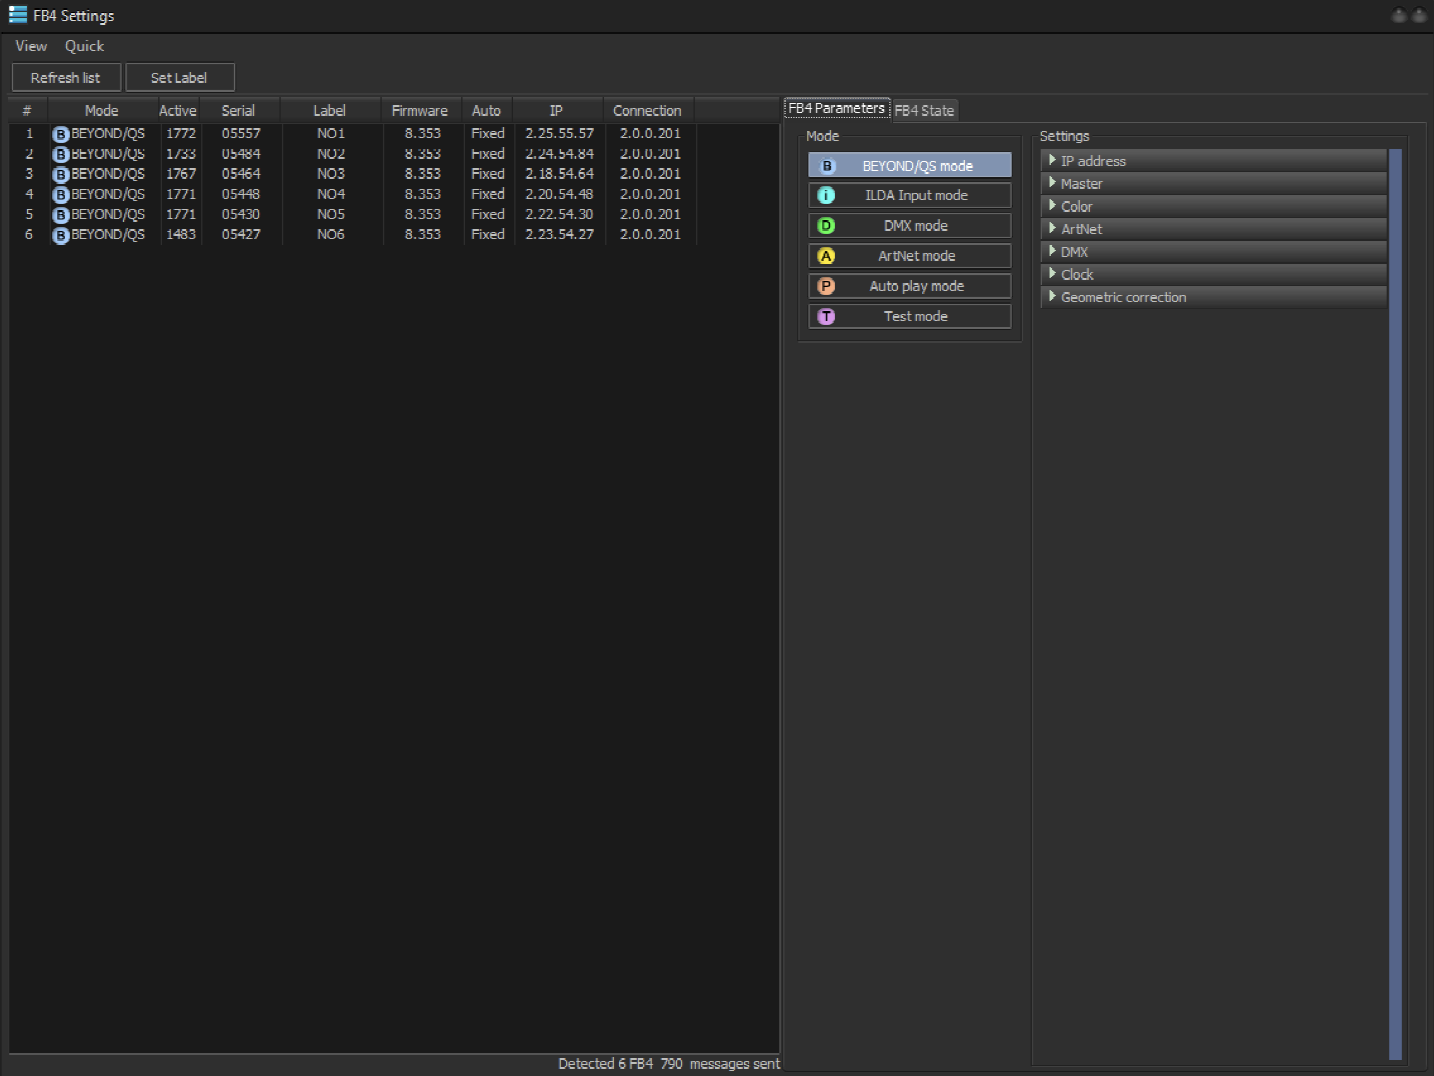
You can access this window from File→FB4 Settings.
The left side of the window contains a list of the detected FB4 Hardware. The right hand side contains the Settings Panel. Each FB4 can be adjusted individually or as a part of a selected group. The list of Controllers supports extended selecting using the CTRL and SHIFT buttons, thus enabling you to select 1 or many FB4's from the List, for adjustment, at the same time.
You can select one of the 2 views:
All FB4 – Sync clock to PC clock. BEYOND/QS sends a single broadcast message that sets the clock of all present FB4 controllers that are available in the network. You can setup a clock for each FB4 separately, as example for testing an Autoplay Schedule. However, in general, it is better to synchronize all the controllers at once.
Menu Quick allows you to quickly change the Operation Mode for all the detected FB4s to:
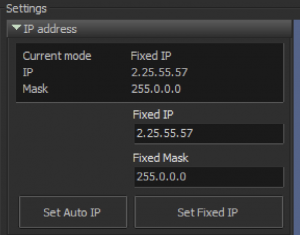
The Panel on the top side displays the current state. To set the auto IP mode to on, click “Set Auto IP”. The FB4 Hardware will then wait for the DHCP server or APIPA to assign an IP Address. Pay attention, whilst a Windows PC can assign an IP address by means of APIPA, it might take some time, up to 5-7 seconds, so the DHCP service is the standard option as it work really fast. The BEYOND/QS software does not have a requirement for an exact IP range. The software will enumerate all the available network connections from the PC. The software continuously monitors any change in network adapters and should be able to react in two to three seconds.
For setting a fixed IP, manually enter the Address and Mask, and click on “Set Fixed IP”. The IP change will happen only after a click on the button. The controller will then show up with a new IP, as new item in the List.
Pay attention, the manual setting of IP addresses requires an understanding of networking. If you not sure about your skills, it's better to use a router with a DHCP server.
Important. Do not assign two IP addresses to your network adapter. BEYOND use connection and controller IP for identification of devices in the network. A double IP will create a conflict, because the FB4 response messages will come from different IPs, at the same time. This remark applies to all DMX console users.
Important. As a member of Pangolin Tech Support, I've seen the same problem multiple times. One network might be not sufficient for ArtNet and Pangolin data traffic. So it is recommended to install an extra network adapter to make physically isolated networks.

Allows adjusting of the Master Brightness and Size, and Axis Invert. Master Size and Brightness influence all modes including streaming from BEYOND/QS.
Hint: Master Size and Brightness are implemented at analogue level and so adjusting these does not decrease the available digital resolution. As an example, if you set the Projector Size to 25% then it means you divide the Frame co-ordinates by 4, which gives a decrease in resolution on 2 bits. But, if you do this as a FB4 Setting, and leave the Projector Setting at 100% then resolution of the Frame stays unchanged. This is something that might help with Graphics projection at long distance.
Important. It is easy to forget about the Master Setting. If you set the Projection Size in the Projector Setting, and see that the angle is still small – it is time to check FB4 Master Settings.
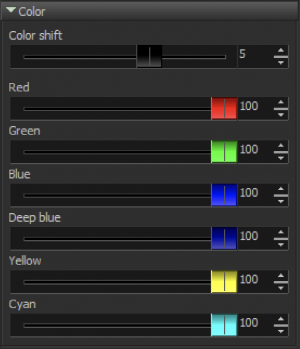
The Color Shift Slider is applicable to situations where the FB4 displays data from the SD card. BEYOND/QS exports data without Color Shift. The support team had a contact because Users had no idea about this FB4 Setting.
Color shift is not applicable in BEYOND/QS mode, and will have no impact during streaming from software.
Master Sliders for Red, Green, etc. Channels. The Master slider controls the maximum level of the corresponding color. The Master Sliders have an impact in all modes, including Master Sliders have an impact in all modes, including streaming from the software (same as Master Size).
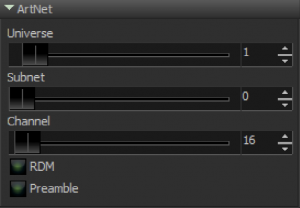
set the ArtNet Universe, Subnet and Channel
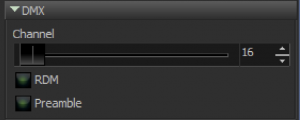
set the DMX address
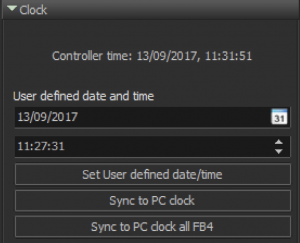
The current time of the FB4 is displayed in the top side panel.
Pay attention; The FB4 must be equipped with a fully functional battery, otherwise, the clock setting will be lost.
“Set User defined time/date” – set the date and time - “User defined” fields, and click on the button to set the time.
“Sync to PC clock” – syncs the FB4 time to the current PC time.
“Sync all FB4's to the PC clock” – sends the broadcast time setup command to set the clock of all the FB4's in the network.
For Shows that use a large number of FB4 controllers, a very useful feature is “label”. It allows you to give a name to each of the FB4 equipped Projectors, and then sort them in order based on this.