Tools
Support
Pangolin Family of websites
Pangolin Laser Systems, Inc.
Kvant Lasers
Unity Lasers
ScannerMAX
Lasorb
Tools
Support
Pangolin Family of websites
Pangolin Laser Systems, Inc.
Kvant Lasers
Unity Lasers
ScannerMAX
Lasorb
QuickTarget Beam Settings provide you with a powerful tool that can be used to create a wide variety of targeted beam effects. Please note, that targeted beams can be dangerous, and we highly advise that you have a full understanding of laser safety and your local laser light show regulations, before using this feature of the software. This feature is only recommended for clients who use targeted mirrors, mirror balls, or diffraction grating effects.
he QuickTargets Beam Settings window allows you to output single beams of laser light from your scanners. Normally this feature is used to target mirrors, mirror balls or diffraction gratings. The main features of the QuickTargets Beam Settings window are shown and described in the picture below.
NOTE: QuickTarget’s features will not be available until you confirm that you understand how to use them.
The first time you open the QuickTargets Beam Settings window, you will see a message that explains what QuickTargets are used for. This message will also ask that you confirm your understanding of the the tool and the associated risks involved.
Neither the Beam Settings window shown below, nor the QuickTargets Beam Sequencing tab will be available until you have made this confirmation.
The QuickTargets Beam Settings is where you can setup the beam frames, positions, and other options for your QuickTarget Beams. The Main QuickTarget Beam settings menu is shown here:
This settings menu has several standard file icons available, including “New”, to clear all the existing QuickTarget Beam settings, “Open” to open a previously saved QuickTarget Beam settings file, and “Save” to save the QuickTarget Beam settings to a file.

Also included in this section are buttons to “Show beam number”, “Show Colored Markers”, and “Show Relations” (the Show Relations button shows a diagram of the Projection Zones, so that you can route each QuickTarget Beam), “Show Diagram of Relations” (this will draw lines from each Zone listed in the Relations diagram to the QuickTarget Beams being routed to that Zone), “Show Grid” which will show a background grid, and “Filter” that will show only the QuickTarget Beams being routed to the specific Projection Zone you choose in the drop down menu.
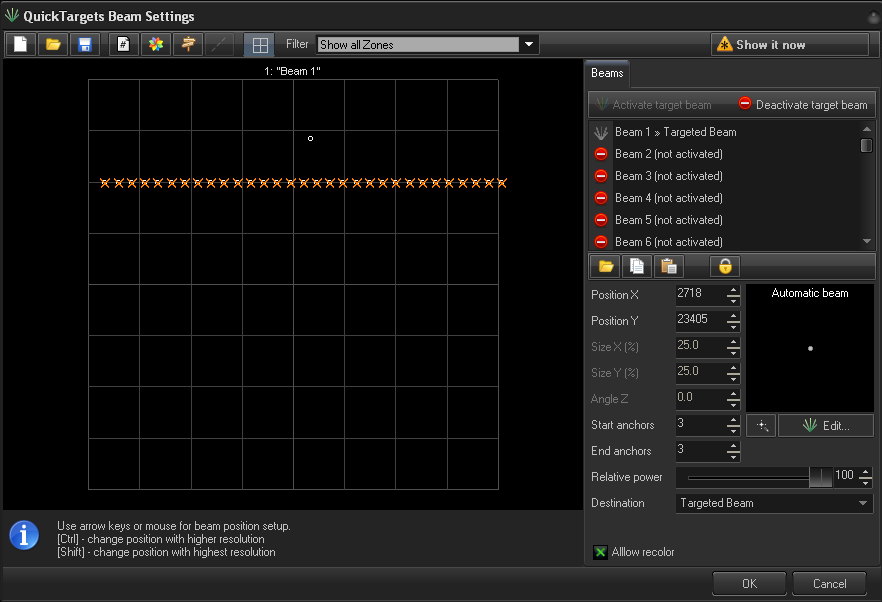
All main settings of the beam are loaded in the Beams tab. If a current beam uses a frame or any other dynamic content, than it will appear in the Effect tab where you can add an effect to the beam.
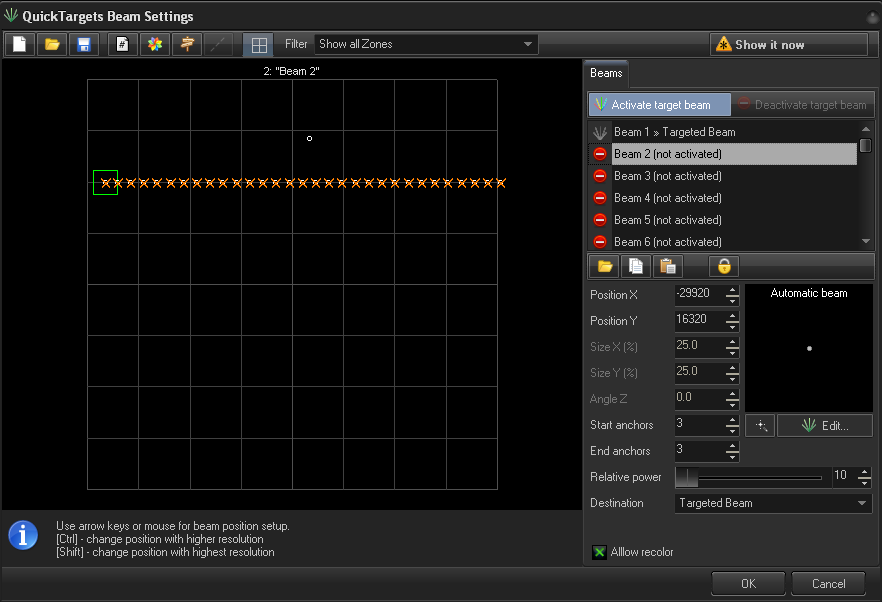
Under the Beams tab you have several customizing options for your QuickTarget Beams. The most important option is the Activate/Deactivate Target Beams. To activate or deactivate a QuickTarget Beam you click on the Beam Designator (either the beam icon in the grid to the left or the Beam “n” in the list under the Beam tab) and click the appropriate Activate/Deactivate button to the right.
By default, BEYOND uses static beams with a specialized power control system. The alternative model to this, is to use standard content instead (frames, shapes, etc.).
There is a File “open” icon where you can open an existing (compatible) BEYOND content file to use as your displayed QuickTarget beam, “Copy Image” and “Paste Image” icons, where you can copy an existing QuickTarget beam image (from a frame or content image) to replace a QuickTarget beam assigned to another beam position, and a “Beam Position Lock” button to lock the position of the selected QuickTarget beam.

Note: when you use frames, BEYOND cannot use the specialized power control system.

You can change the relative power of the QuickTarget Beam from 10 to 100 and also route each QuickTarget to a specific Projection Zone. It is important to note, each beam starts out at only 10% power. If you want higher power in that particular beam position, you will need to increase the Relative Power setting for that beam.
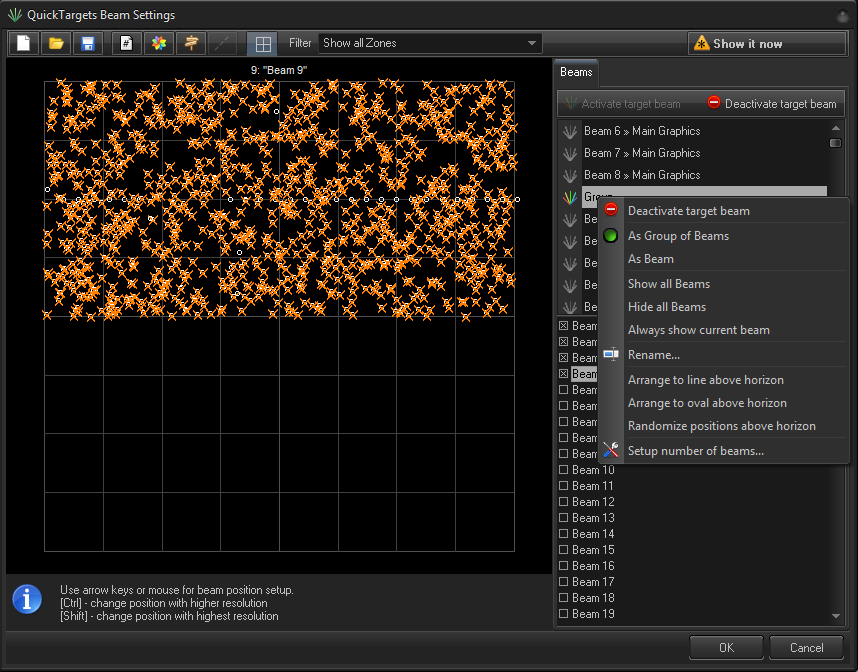
You may encounter a situation, whereby you have created a a large number of targeted beam positions, and you want to quickly sequence these for a show.
Let’s say you created 500 targeted beam positions… You wouldn’t want to have to click on those one by one. As such, we created a special tool within BEYOND that we refer to as “Beam Groups”. Beam Groups allow you to click on targeted beams, active them, and add them to a “group”. Within the content menu, you can select “As a group of Beams”, and after this, you can mark the beams that you want to belong to this group and include them. It’s that simple.